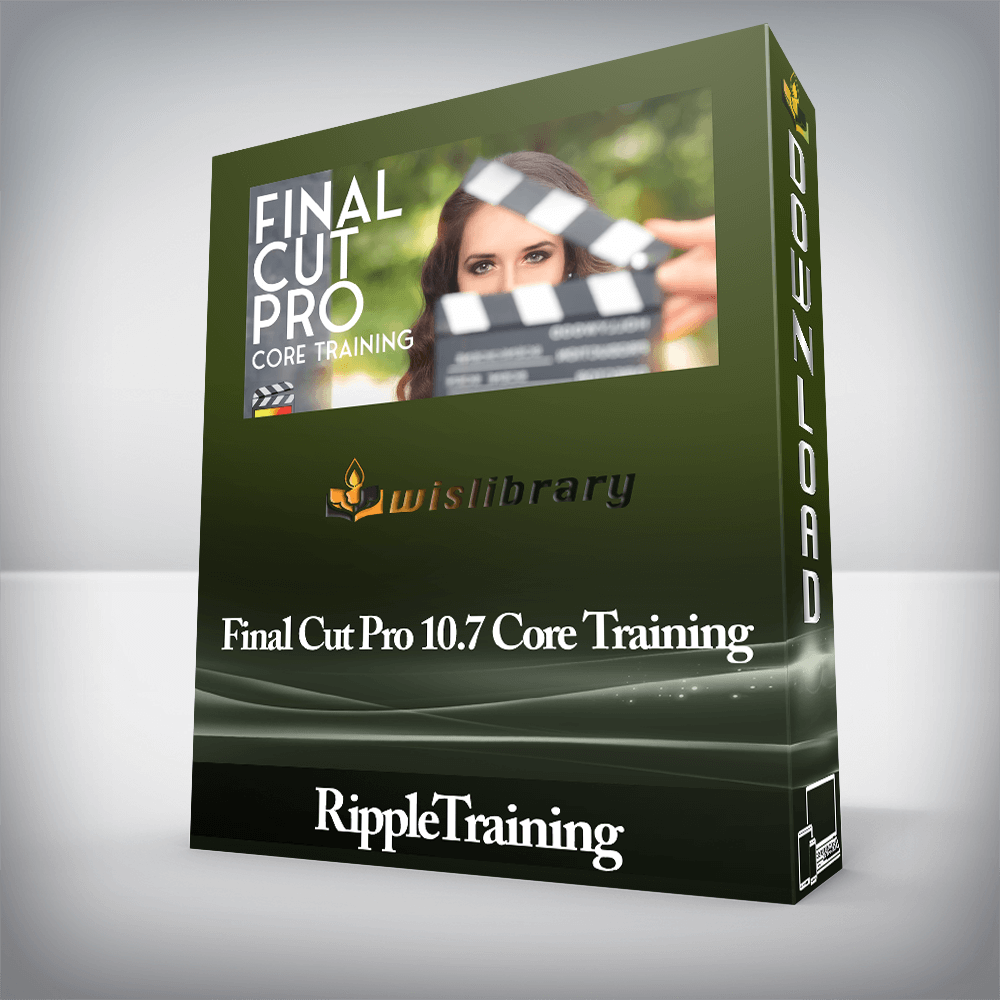
RippleTraining – Final Cut Pro 10.7 Core TrainingImport, Rate and Organize Your MediaUse Trimming Tools to Shape Your StoryCreate Engaging SoundtracksWork with HDR & Cinematic MediaUse Color Correction to Enhance EmotionWork with Effects, Titles, & TransitionsWho this Tutorial is for:This tutorial is specifically tailored for anyone who wants an immersive approach to learning Final Cut Pro from the ground up. This tutorial assumes no prior knowledge of video editing, but it does assume that the user intends on making use of the material presented in this training to apply to their own video projects.Software Version: Final Cut Pro 10.7 or later.Run Time: 6 hours 55 minutesType of Tutorial: BeginnerProject Media: Project media is included. Final Cut Pro 10.7 Core Training1. Exploring the FCP UIIntroductionLaunching Final Cut ProFinal Cut Pro WorkflowThe Libraries SidebarThe ToolbarCustomizing the UIUser Preferences2. QuickStart: Editing & EffectsReviewing the Project MediaSetting Import PreferencesLibraries & EventsImporting MediaChanging Clip AppearanceCreating a ProjectAdding Clips to the TimelineThe Skimmer & PlayheadTimeline Clip AppearanceTrim Start and EndHelpful Keyboard ShortcutsThe Scrolling TimelineAssembling Your ClipsStabilizing a ClipAdding a Music TrackAdding Beat MarkersCreating Selection RangesPerforming a Swap EditUsing Keyboard ShortcutsRetiming ClipsReplacing a ClipAdding a TransitionCropping ImagesCopying & Pasting EffectsAnimating the CropDealing with Jump CutsConnecting Clips3. QuickStart: Sound & ColorAdjusting VolumePasting Volume AttributesSoloing a ClipAdding a Sound EffectKeyframing VolumeAdding Sound & Picture FadesWhy Color CorrectAutomatic Color CorrectionUsing the Color BoardAdjusting Exposure & SaturationAdjusting ColorColor Correcting Shot by ShotMatching ColorSharing a Movie4. Customizing the KeyboardUsing Shortcuts with Modifier KeysLocating Keyboard CommandsFiltering the Virtual KeyboardCustomizing the KeyboardUsing Command Search & Help5. Working with LibrariesUnderstanding Library HierarchyCreating a Library WorkflowOpening Pre-Existing LibrariesClosing LibrariesLocating Your LibrariesStoring and Opening BackupsOpening Libraries at App Launch6. Media Storage OptionsCreating a LibraryAssigning a Storage LocationManaged vs. External LibrariesNavigating the Media Import WindowSaving a Favorite LocationChoosing a Clip Storage OptionChoosing a File Storage OptionsCopying Files to the LibraryLeaving Files in PlaceUnderstanding Symlinks7. Importing Media from CamerasImporting from Camera CardCamera ArchivesImporting Selection RangesTranscoding During ImportCreating Camera Archives8. Importing Media from FoldersReasons for Importing from a Hard DriveImporting Folders as Keyword CollectionsAnalyzing Video During ImportAnalyzing for PeopleAnalyzing Audio During ImportKeyword Collections & People Smart CollectionsAdding a Finder TagsImport PreferencesImporting by Drag & Drop9. Working with EventsCreating EventsMoving & Copying Media Between EventsDeleting Media in EventsDeleting EventsViewing Clips as a FilmstripContinuous PlaybackViewing Clips as a ListCustom Column LayoutsUsing the Task Menu10. Keyword & Smart CollectionsSetting up the UI for OrganizingSaving a Custom WorkspaceIdentifying Clips with KeywordsCreating a Keyword CollectionDrag & Dropping Clips to a Keyword CollectionRemoving Clips from a Keyword CollectionAssigning Multiple KeywordsSearching for ClipsUsing the Filter HUDCreating Smart CollectionsLibrary Level Smart Collections11. Rating & Transcoding MediaRating Clips as RejectsUnrating ClipsRejecting a Selection RangeRating & Viewing Clips as FavoritesTagging Ranges as FavoritesAssigning Keywords to RangesTranscoding Media12. Synching & Rating an InterviewDual-System RecordingSynchronizing ClipsCreating a Synchronized Clip Smart CollectionChanging the Audio Playback ChannelRating Sound Bytes13. Working with ProjectsCreating a New ProjectChoosing Project PropertiesWorking with Multiple Video FormatsModifying the Project SettingsLocating Projects14. Appending & Inserting ClipsThe Editing ButtonsAppending Clips to the Primary StorylineNavigating in the TimelineInserting a Clip Using the PlayheadThe Skimmer Vs. the PlayheadInserting a Clip Using the Skimmer15. Overwriting & Connecting ClipsPerforming an Overwrite EditPerforming a Connect EditUnderstanding the Magnetic TimelinePerforming a Video-Only Connect EditMoving and Disabling a Connected ClipOverwrite to the Primary Storyline3-Point Edit Overwrite EditsCreating a Back-Timed 3-Point Edit16. Removing Unwanted MaterialUsing the Blade ToolUsing the Range Selection ToolPerforming Blade TrimsPerforming Skimmer TrimsPerforming Clip Skimmer Trims17. Replacing ClipsPerforming a Replace EditReplace from Start/EndReplace & Retime to FitReplace & Add to AuditionPreviewing an Audition Clip18. Adjusting Clip PacingInserting a Gap ClipThe Magnetic Timeline RevisitedUsing the Position ToolPerforming Extract and Lift EditsReplacing Gap Clips19. Adjusting Clip TimingTrimming DefinedTrimming with the Selection ToolTrimming with the KeyboardCreating Split EditsTrimming with the Trim ToolPerforming a Rolling EditPerforming a Slip EditPerforming a Slide EditTrimming with the Precision Editor20. Multicam EditingIdentifying the AnglesCreating a Multicam ClipChecking Angle SyncCorrecting Sync in the Angle EditorAdding a Multicam Clip to a ProjectSwitching an AngleVideo-Only CuttingMaking Changes to the Edit21. Connected Clips & StorylinesEditing Connected B-RollCreating a Connected StorylineRe-ordering & Trimming Clips in a Connected StorylineDisabling Clips in a Secondary StorylineLifting Clips from the Primary StorylineCreating an L-CutEditing Music with Connected StorylinesRelocating a Connection PointSlip Editing with Connection Override22. Retiming EffectsRetiming – Constant Speed EffectsAutomatic RetimingRetiming – Variable Speed EffectsSmoothing Speed TransitionsAdjusting Segment TimingChanging the Video QualityAnalyzing & Rendering with Optical Flow23. Working with LUTsChanging the Metadata ViewApplying a Camera LUTApplying a Creative LUTAdding a Folder of LUTsChoosing a LUT24. Adding CaptionsCaption FormatsAdding & Editing a CaptionFormatting a CaptionSplitting CaptionsImporting SRT Caption FilesForeign Language SRT Captions25. Exporting for Social MediaCollapse to Connected StorylineExporting CaptionsExporting a MovieExporting for Instagram with Open CaptionsThe Magic of Smart ConformExporting with Burn-In Captions26. Working with Audio RolesAudio Roles DefinedSoloing ClipsClip SkimmingOrganizing with Audio LanesFocusing a LaneCreating Sub RolesRevealing Subrole Lanes27. Editing the SoundtrackConfiguring the Workspace for Sound EditingExamining Audio ConfigurationExpanding Audio ComponentsSound Editing with ComponentsAdjusting Clip VolumeAdding Head & Tail FadesAdding CrossfadesRemoving Audio ContentDetaching AudioAssigning a Subrole to a ComponentSplitting & Moving AudioRole Workflow RecapAssigning Roles Pre-EditAudio Clean Up28. Mixing the SoundtrackSoloing Role GroupsReading the Audio MetersAudio Delivery RequirementsEnhancing the DialogueEnhancing LoudnessReducing NoisePasting the EnhancementAdjusting Effects VolumeControlling Volume with Keyframes29. Creating Holds & FreezesCreating a Hold FrameRetiming Adjacent SegmentsCreating a Freeze FrameCreating a Freeze Frame in the Browser30. Working with PhotosAccessing the Photos LibraryUsed Media RangesAdding Photos to the ProjectSpatial Conform Options31. Transforming ImagesTransforming Images in the ViewerTransforming Images in the InspectorChanging the Anchor PointAnimating Transforms with KeyframesNavigating to KeyframesAltering Keyframes in the Animation Editor32. Cropping & Distorting ImagesThe Active Clip IndicatorTrimming a ClipCropping a ClipAnimated Cropping – Ken BurnsDistorting an Image33. Generators, Titles, & EffectsPreviewing GeneratorsModifying the GeneratorAdding a TitleEnabling Title SafeChanging Title PropertiesAnimating OpacityPreviewing & Applying EffectsApplying & Modifying a Drop Shadow34. Working with TransitionsUnderstanding Transition OverlapApplying the Default TransitionThe Anatomy of a TransitionTransitions with no Media HandlesTrimming with a TransitionRolling an Edit Under a TransitionApplying a Transition from the Media BrowserAdjusting Transition PropertiesReplacing and Deleting a Transition35. Working with Compound ClipsPasting & Removing AttributesCreating Compound ClipEditing Inside a Compound ClipCompound Clips and Ken BurnsTransitions and Compound ClipsWorking with Multiple Compound Clips36. Tracking EffectsAdding a Gaussian BlurAdding a Shape MaskWorking with the TrackerChanging the Analysis Method37. Editing HDR & Cinematic MediaWhat is Color Gamut?Modifying a Library GamutViewing HDRHDR Clip AttributesPQ vs. HLGHDR Clips in an SDR ProjectHDR Clips in an HDR ProjectExporting HDR MoviesExporting HDR Movies from CompressorEditing Cinematic ClipsChanging Depth of FieldEnabling Cinematic ModeControlling Focus38. Color Correcting with Wheels & CurvesChoosing a CorrectorControlling ContrastControlling Color BalanceAnalyzing Video with ScopesExpanding LatitudeTonal Range OverlapPrimary vs Secondary CorrectionsUsing Hue vs SatUsing Hue vs LumaUsing Hue vs HuePasting CorrectionsUsing the Luma CurveCreating an S-Curve39. Color MatchingRGB Parade ScopeAltering Color BalanceUsing the Comparison ViewerSaving a Color WorkspaceShot Matching with CurvesSaving Reference FramesSaving an Effect Preset40. Creating LooksPreviewing LooksCreating a Black & White LookPreserving LuminanceAdding a Hue/Saturation EffectTone Shaping the ImageUsing Audition Clips for LooksCreating the Sin City LookAdding a Color Mask41. Making HDR Color AdjustmentsColor Conforming SDR to HDRColor Adjusting HDRHDR Title Adjustments42. Removing BackgroundsShooting TipsAdding the Scene Removal MaskEvaluating the MaskChoosing the Reference FrameAdding a Motion BackgroundAdding Corner MaskModifying the TemplateSetting the HDR Brightness Level Jumpstart Your StorytellingWe understand that learning editing software can be challenging. So instead of giving you a glorified “demo†like so many other tutorials found on YouTube, our training will walk you step-by-step through the process of editing, color correcting and delivering a completed video within the first few lessons. With our provided media and helpful onscreen keyboard helpers, you’ll gain the confidence you need to create the videos you’ve always dreamed about.Create Better SoundtracksA well-balanced soundtrack is the main delineator between average videos and great ones.You’ll learn how to properly balance your dialogue, music and effects so that your story is clear and coherent. Along the way, you’ll learn how to properly set your volume levels using Final Cut Pro’s audio meters; tighten up dialogue, and work with enhancement effects to improve intelligibility of the spoken word.Edit Multicam VideosWith the market flooded with accessible and affordable professional cameras (including the one in your pocket), it’s now commonplace to record live events with more than one camera. In our tutorial, we’ll walk you through the steps for syncing and editing a 3-camera shoot of a music performance.Edit & Deliver for Social MediaOnline videos account for more than 83 percent of internet traffic. We’ll show you how to edit a brand video for social media with the intention of keeping your stories short and focused. You’ll learn how to augment your video with b-roll, effects, titles and transitions, then finish it off with closed captions for your hearing impaired viewers. Additionally, you’ll learn how to output your movie in different formats that target specific video platforms like YouTube and Instagram.There are no reviews yet.Add a Review Cancel replyYou must be logged in to post a review.
 RippleTraining – Advanced Color Correction in Final Cut Pro
₹2,822.00
 RippleTraining – 360 Video Editing in Final Cut Pro 10.4
₹2,822.00
RippleTraining – Final Cut Pro 10.7 Core Training
₹2,822.00


