Don’t waste hours struggling through hundreds of YouTube videos (or trial-and-error). Instead fast-track your skills with my simple step-by-step program. File Size: 5.05 GB
Â
Justin Laurens – Portrait Editing
Â
FINALLY REVEALED!
–
Discover My Unique Editing Workflow PLUS Become A Master Portrait Retoucher In Photoshop!
(Even Without ANY Prior Knowledge of Photoshop, Without Spending Hours on Each Edit & Without The Need To Buy Expensive Equipment, Guaranteed!)
Welcome to the JL Portrait Editing & Retouching Course:
Are you ready to take your editing skills to the next level?
Learn flawless (yet natural) Skin Retouching, create colors that “Pop!†& master glossy, depth-boosted tones (make your photo look 3D!)
Don’t waste hours struggling through hundreds of YouTube videos (or trial-and-error). Instead fast-track your skills with my simple step-by-step program.
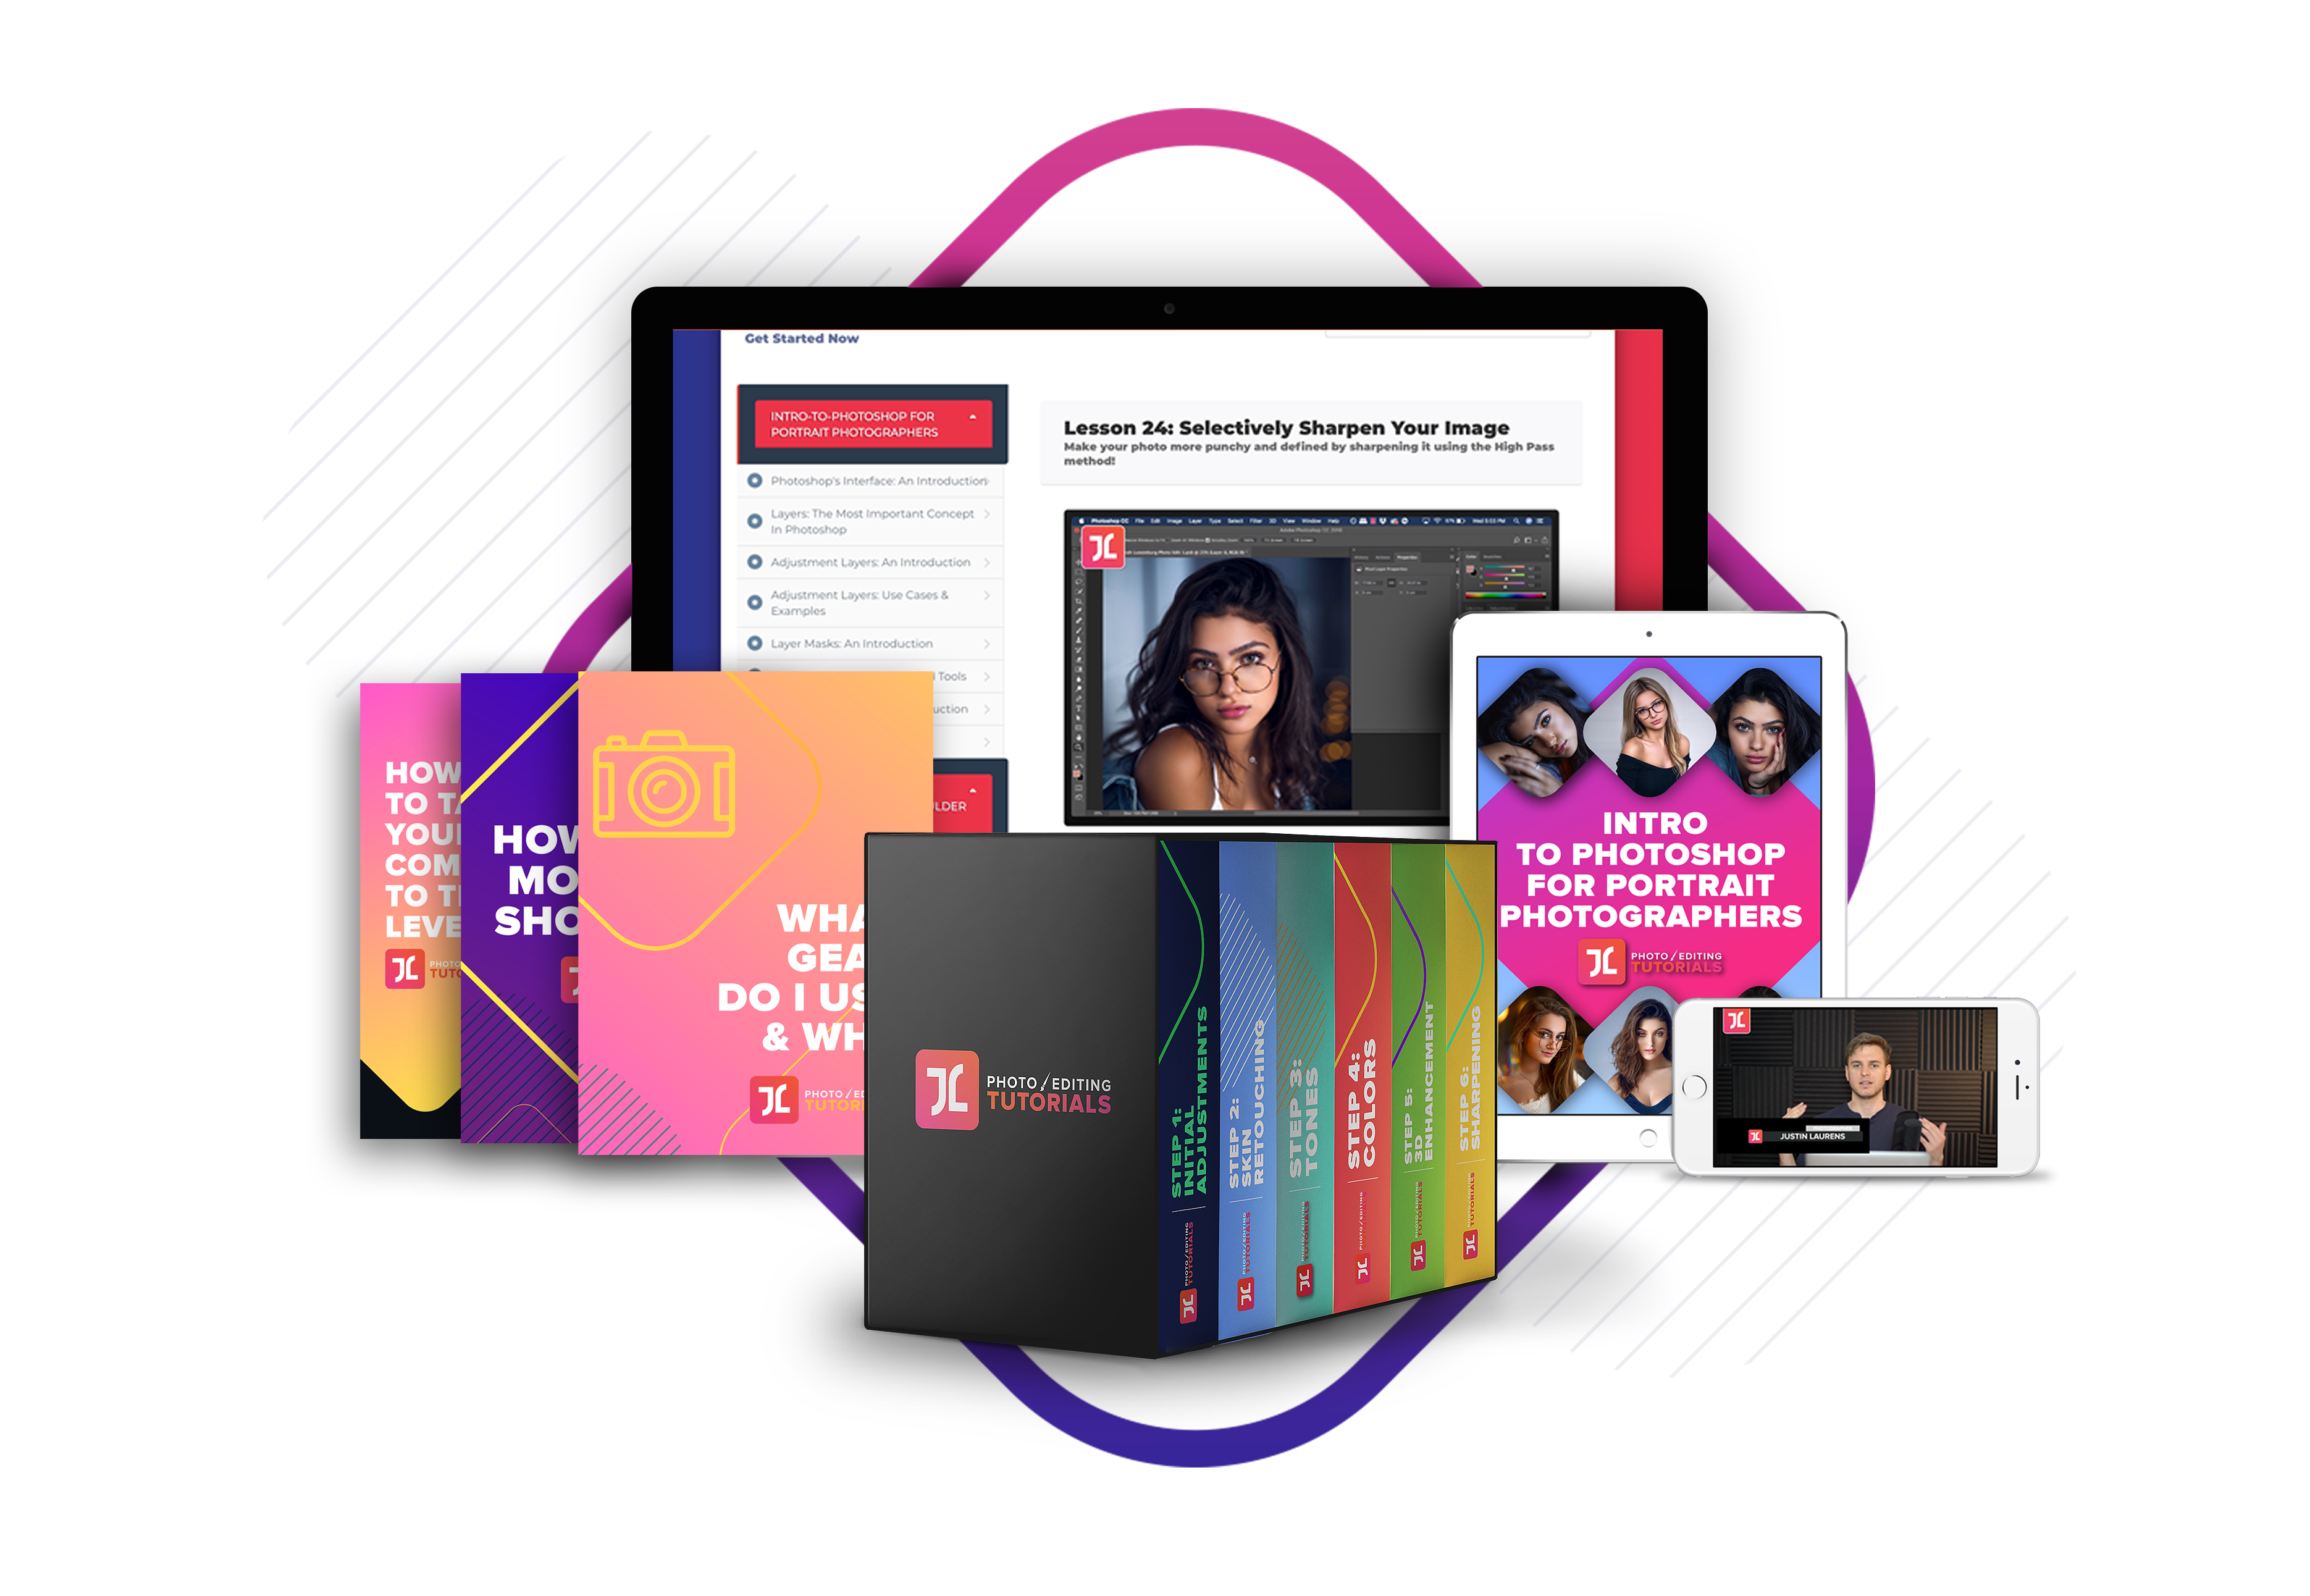
Discover 7 extremely detailed modules with 40 videos, 3 FREE eBooks & private access to my Mentoring Group.
In this course, you will:
– Learn how to use Photoshop (even if complete Beginner!)
– Learn all my personal editing techniques & workflows
– Create beautiful lighting/tones
– Edit vibrant colors that “popâ€
– Create razor sharp details
– Retouch flawless/glowing skin
– Apply innovative 3D/Depth enhancement effects
Join Course Today!
LIFETIME access to online course Membership Area (anytime, anywhere!)
Intro-To-Photoshop Module
6-Module Editing Tutorials (5+ hrs)
3 FREE Bonus eBooks
RAW Photo (edit with me!)
What’s INSIDE This Course?
Intro-To-Photoshop Masterclass
00. Photoshop Masterclass Module
First, you need to Master Photoshop’s essentials (for Portrait Photographers)
Lesson 1: Photoshop’s Interface: An Introduction (3:30)
Lesson 2: Master Your Understanding Of Layers (10:14)
Lesson 3: Adjustment Layers 101 (4:18)
Lesson 4: Adjustment Layers You NEED To Know For Portrait Editing (24:29)
Lesson 5:Â The Importance of Layer Masks for Detailed Portrait Edits (18:01)
Lesson 6: The Toolbar: Commonly Used Tools in Portrait Editing (15:11)
Lesson 7: Camera Raw Filter: A Powerful Plugin For Portrait Retouching (14:34)
Lesson 8: Making Selections: 5 Techniques You NEED To Know To Make Highly Accurate Selections (Very Important for Details!) (18:54)
($100 Value)
6-Step Editing Workflow Masterclass
01. Step 1: Initial Adjustments
Next, I’ll teach you the crucial FIRST steps when editing ANY photo.
Lesson 1: Welcome To This Editing Tutorial! (2:24)
Lesson 2: My Obsession With The White Balance Meter (3:25)
Lesson 3: My Signature Exposure Recovery Method (9:16)
Lesson 4: Establish Dreamy Feel With Clarity Meter (2:10)
Lesson 5:Â Flatten The Black Point/Tones for Smooth/Glossy Tones (5:07)
Lesson 6: Important (Final) Miscellaneous Adjustments In The Camera Raw Filter (3:20)
($60 Value)
02. Step 2: Skin Retouching
Then, learn my unique Skin Retouching methods to create flawless, natural-looking skin.
Lesson 1: Prepare Image For Skin Retouching (6:04)
Lesson 2: Remove Blemishes and Pimples (Specialized Freq. Separation) (10:16)
Lesson 3: Blend-In Dark Patches & Even Out Skin Tone (Specialized Freq. Separation) (20:22)
Lesson 4: Global Dodge & Burn The Simple/Fast Way (5:27)
Lesson 5: Create Glossy & Smooth Skin With ‘Skin Polishing’ (6:31)
Lesson 6: Final Touches To Skin Retouching (6:47)
($120 Value)
03. Step 3: Tones Adjustment
Next, adjust the tones to create a clean, glossy look with high clarity.
Lesson 1: Use Gradient Maps To Boost Contrast (7:22)
Lesson 2: The Amazing Power of the Curves Adjustment Layer (5:27)
Lesson 3: The Camera Raw Filter: A Contrast-Boosting Machine! (5:36)
Lesson 4: Give The Skin A Bright Luminosity Glow Using The Selective Color Tool (2:40)
Lesson 5: Enhancing The Depth/Dimension Of The Eyes (7:20)
($60 Value)
04. Step 4: Colors Adjustment
Now let’s apply my signature color-grading methods to make your image “Pop!â€
Lesson 1: The Power Of The HSL Adjustment Layer To Target Color Groups (3:51)
Lesson 2: The ‘Color Balance’ Tool: My Secret Weapon To Create Amazing Color-Contrast (5:27)
Lesson 3: The ‘Selective Color’ Tool: Making Beautiful Color Palettes Come Easy! (6:03)
Lesson 4: How To Remove Unwanted Color-Casts From The Skin (6:56)
Lesson 5: Enhancing The Colors Of The Eyes (4:43)
Lesson 6: The Power Of The ‘Select -> Color Range’ Tool For Detailed Color Adjustments (5:51)
Lesson 7: Removing Harsh Reds From The Skin Quickly (11:05)
($80 Value)
05. Step 5: 3D Enhancement
Boost your photo’s Depth to give it that 3D look!
Lesson 1: Use ‘Color Balance’ Tool To Enhance Depth (8:16)
Lesson 2: Enhance Subject Separation Using The Selective Color Tool (2:40)
Lesson 3: The Camera Raw Filter: A Powerful Tool To Boost Selective Depth (5:36)
Lesson 4: Use Global Dodge & Burn To Boost Dimension In The Eyes (7:20)
Lesson 5: Important Final Depth Adjustments In The Camera Raw Filter (3:20)
($80 Value)
06. Step 6: Sharpening
Finish your image with a detail boost using my Sharpening techniques.
Lesson 1: Selectively Sharpen Your Image Using High Pass Method (Done The RIGHT Way!) (5:06)
Lesson 2:Â Sharpening Techniques & When To Use Them in Camera Raw Filter (4:32)
Lesson 3: Optimize & Export (5:08)
($60 Value)


