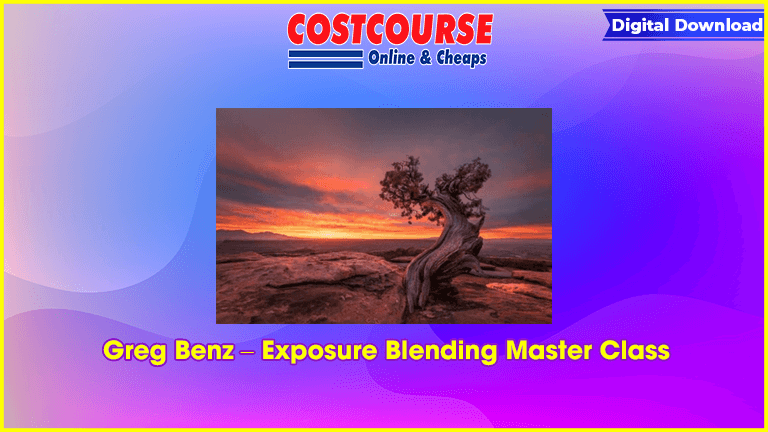
Everything you need to know to get the most out of your RAW filesClimb the mountain one step at a time.
Greg Benz – Exposure Blending Master Class
Whether you have significant experience using luminosity masks to blend exposures, or have no idea what they are – this course is designed to help you to master the art of extracting incredible color and dynamic range from your RAW files. The course is built in clearly organized, bite-sized pieces. This gives beginners a clear place to start learning the basics, and more experienced students can skip right to the more advanced courses.
(If you already purchased this course, please log in here and use the lost password function if needed).
Course Curriculum
[1] Here (RAW Files and more)
[1.1] Welcome and How to Get the Most out of this Course (2:28)
[1.2] ***** RAW Files ***** (0:44)
[1.3] Viewing this course offline: Teachable app for iOS
[1.4] Additional content (links to related material outside this course)
[1.5] Lumenzia v7 update (7:40)
[1.6] Lumenzia v8 update
[1.7] Lumenzia v9 update
[2] Primer: the Basics of blending (advanced Photoshop users can skip this)
[2.1] Simple Blending with Layers and Layer Masks (12:31)
[2.2] Selection Tools in Photoshop (20:00)
[2.3] Creating luminosity selections with Lumenzia
[2.4] How to view layers and masks (4:35)
[3] The Best Blending Workflow (KEY SECTION)
[3.1] Preparing RAW files for export to Photoshop (19:19)
[3.2] PreBlend: Preparing Layers for Blending (2:46)
[3.3] Blending: Painting through Luminosity Selections (18:50)
[3.4] Finalizing the blend (11:25)
[3.5] Recap: Key Buttons to Know in Lumenzia for Blending
[3.6] Optional: Why Wacom Tablets are so great for luminosity masking
[4] Optional: Alternative software (skip this if you use Lumenzia and Lightroom)
[4.1] Alternative stacking workflows for people who do not use Lightroom or Lumenzia
[4.2] Alternatives workflows for people who do not use Lumenzia
[5] Multi-processing: Single RAW workflow (KEY SECTION)
[5.1] Why and when to multi-process the same RAW file (18:48)
[6] Other blending workflows
[6.1] Blending in a lighter exposure (8:30)
[6.2.] Blend If (and why you generally shouldn’t use it for blending) (8:57)
[6.3] Panos and focus stacking (workflow considerations when blending more than just exposure)
[6.4] HDR (limitations and uses)
[7] Getting great Color (KEY SECTION)
[7.1] Differences in color processing in Photoshop vs Lightroom/ACR (30:50)
[7.2] Lightroom/ACR tools for color
[7.3] Photoshop tools for color (14:32)
[8] Fieldwork: Capturing the images (KEY SECTION)
[8.1] How many exposures do you need? (11:24)
[9] Common issues and how to fix them
[9.1] Bad tree edges (6:50)
[9.2] Halos and other bad edges
[9.3] Ghosting
[9.4] The blend looks “flat†(Low contrast)
[9.5] There is a red overlay on the image
[9.6] Other issues
[10] Sky replacement
[10.1] Horseshoe Bend Sky Replacement (48:29)
[11] Landscapes
[11.1] Unique Challenges for Landscapes (2:04)
[11.2] Demo: Juniper Tree (single vs mult-processed RAW comparison) (42:59)
[12] Cityscapes
[12.1] Unique Challenges for Cityscapes (1:56)
[12.2] Demo: London [Skill Level: Advanced] (33:22)
[13] Interiors / Real Estate
[13.1] Unique challenges for Interiors (10:57)
[13.2] Demo 1: Office – Mixed color and a novel approach to blending [Skill Level: Advanced] (38:42)
[13.3] Demo 2: Bedroom with mix of HDR and luminosity masking [Skill Level: Advanced] (62:37)
Bonuses
Luminosity Masking Workflow (KEY SEGMENT) (28:53)
LR/ACR presets (7:39)
Keyboard shortcuts


